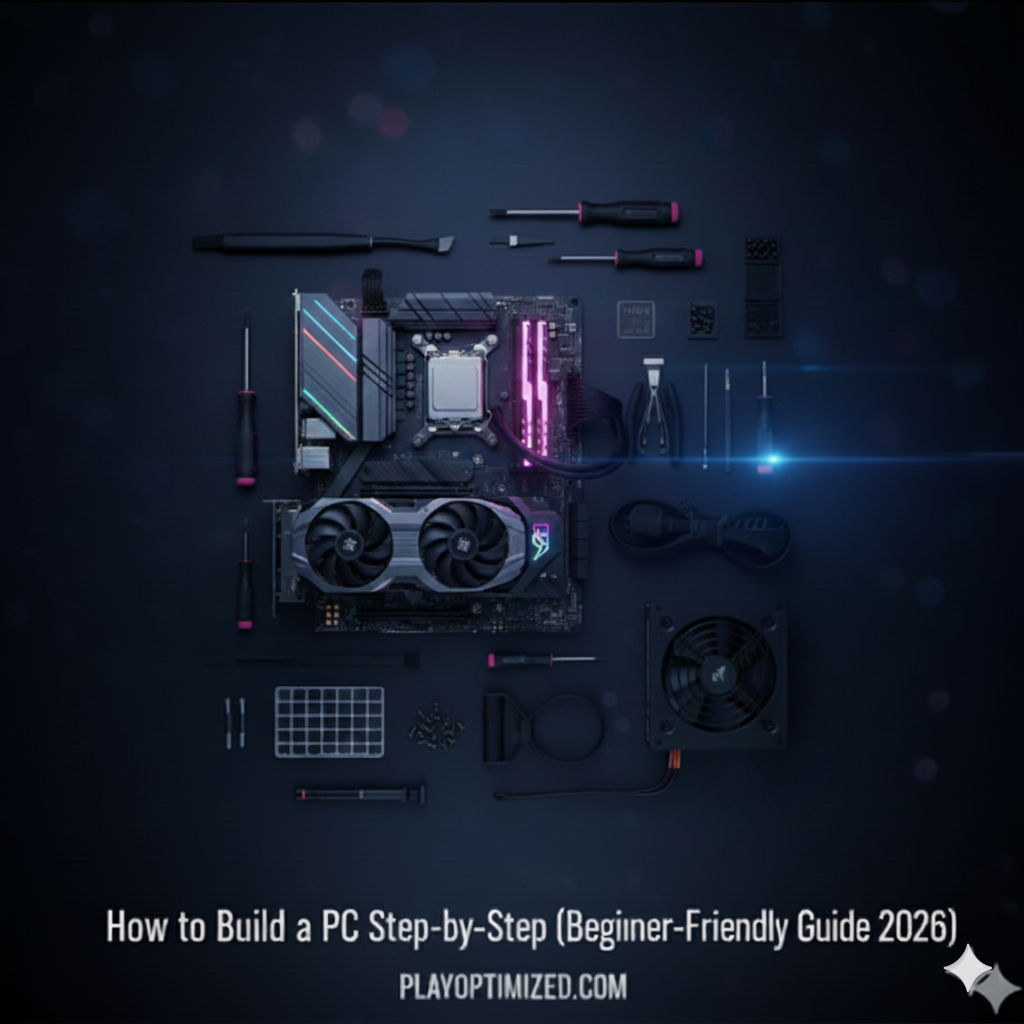
Thinking about how to build a PC 2026 but feeling overwhelmed by the technical jargon and endless compatibility charts? You’re not alone. While it may seem like a complex task, assembling your own computer is one of the most rewarding tech projects you can undertake. Before diving into the build process, it’s also worth understanding how individual components impact performance, which we explain in our detailed guide on How to Choose the Right PC Components (CPU, GPU, RAM, SSD). It gives you full control over performance, budget, and aesthetics.
In this ultimate beginner-friendly guide for 2026, we will walk you through the entire process—from selecting the perfect components to installing the operating system and finally pressing that power button. Forget generic instructions; this is your detailed, step-by-step PC building tutorial to ensure a successful, stress-free experience.
Phase 1: Planning – The Foundation of Your Build
The first step in how to build a PC is careful planning. A mistake here can cost you time and money due to incompatible parts.
1. Define Your PC’s Purpose
What is the primary use of your new computer? The answer dictates your budget allocation:
| Primary Use | Budget Focus | Key Components |
| High-End Gaming (4K, high refresh rate) | Graphics Card (GPU) & CPU | High-core CPU, Flagship GPU, 32GB+ DDR5/DDR6 RAM. |
| Professional Workstation (Editing, Rendering) | CPU Cores & RAM | High-core/thread CPU (e.g., AMD Threadripper or high-end Intel i9/Xeon), 64GB+ RAM, fast NVMe storage. |
| General Use/Casual Gaming | Balanced | Mid-range CPU/GPU combo, 16GB RAM, fast 1TB SSD. |
2. Ensure Component Compatibility
If you want a deeper breakdown of how different storage options affect real-world performance, our comparison of SSD vs NVMe vs SATA – Does Storage Speed Affect Gaming Performance? explains the differences clearly for new builders.
Compatibility hinges mainly on two components: the CPU and the Motherboard.
- CPU Socket: The socket (e.g., AM5 for modern AMD, LGA 1700 for modern Intel) must match the socket on the motherboard. They are not interchangeable.
- RAM Type: Ensure your motherboard supports the RAM you choose (DDR4 or DDR5).
- Form Factor: Your motherboard’s size (ATX, Micro-ATX, Mini-ITX) must fit inside your chosen PC case.
3. Power Supply Unit (PSU) Calculation
A low-quality PSU can damage all your other parts, so never save money here.
- Estimate Wattage: Sum the estimated power consumption of your CPU and GPU, and add a safety margin. For high-end builds in 2026, 850W to 1200W is common.
- Efficiency: Always choose a PSU with an 80 PLUS Gold rating or higher for reliability and efficiency.
Phase 2: Pre-Assembly – Preparing the Core Components
We will install the smaller, delicate components onto the Motherboard (MOBO) outside of the case first, which is much easier.
4. Prepare Your Workspace and Tools
- Surface: Use a clean, well-lit, and non-static surface. Place the motherboard on its original box.
- Static: Wear an anti-static wrist strap, or constantly touch a grounded, unpainted metal part of the PC case.
- Tools: A Phillips head screwdriver is essential.
5. Installing the CPU
- Open the retention arm on the CPU socket.
- Look for the small gold triangle on the CPU corner. This must align precisely with the marking on the socket.
- Gently place the CPU into the socket. It should drop in perfectly with no force. Do not push.
- Close the retention arm.
6. Installing NVMe SSDs (Storage)
If this is your first time working with storage upgrades or you want a more focused walkthrough, you can follow our dedicated guide on How to Install an SSD in a Desktop PC.
- Locate the M.2 slots (often under heatsinks) on the motherboard.
- Gently slide the NVMe SSD into the slot at an angle.
- Push the drive down and secure it with the provided screw or tool-less latch.
7. Installing RAM (Random Access Memory)
RAM must be installed in specific slots for optimal Dual Channel Mode.
- Consult your motherboard manual for the correct slot configuration (usually A2 and B2).
- Open the clips at both ends of the RAM slots.
- Align the notch and press down firmly and evenly on both ends until the clips snap shut.
8. Installing the CPU Cooler
Proper cooler installation plays a major role in long-term system stability. If you’re concerned about heat or airflow, we cover practical solutions in our guide on How to Lower CPU and GPU Temperatures (Complete Cooling Guide).
- Mounting: If necessary, install the cooler’s mounting backplate on the rear of the motherboard.
- Thermal Paste: Apply a pea-sized dot of thermal paste to the center of the CPU’s heat spreader. (Skip this if your cooler has pre-applied paste).
- Mount: Place the cooler carefully over the CPU and tighten the screws evenly in an X-pattern.
- Connect Fan: Connect the cooler’s fan cable to the designated
CPU_FANheader on the motherboard.
Phase 3: Assembly – Bringing It All Together in the Case
Now we move the prepared components into the PC case.
9. Install the Power Supply Unit (PSU)
- Mount the PSU in its designated area (usually the bottom rear). Ensure the fan is facing the correct direction for airflow.
- Secure the PSU to the case using the four provided screws.
- If modular, attach the main cables now: the 24-pin ATX, the 8-pin (4+4) EPS CPU, and any necessary PCIe power cables.
10. Install the Motherboard in the Case
- Ensure the standoffs (metal pillars) are correctly positioned in the case to prevent short-circuiting.
- If you have a separate I/O shield, snap it into the rear panel from the inside of the case.
- Gently align the motherboard with the standoffs and the I/O shield.
- Screw it in securely but do not overtighten.
11. Mounting the GPU (Graphics Card)
Once your graphics card is installed, fine-tuning settings can unlock additional performance. Our guide onHow to Optimize Windows 10/11 for Gaming and Speed walks through the most effective tweaks.
- Identify the top-most (primary) PCIe x16 slot.
- Unscrew and remove the corresponding metal slot covers on the back of the case.
- Press the GPU firmly into the PCIe slot until you hear the plastic latch click closed.
- Secure the GPU mounting bracket to the case with screws.
12. Connecting the Internal Cables
Use your motherboard manual for reference here—it is essential for a successful first boot.
- Main Power: Connect the 24-pin ATX and the 8-pin EPS CPU power cable from the PSU to the motherboard.
- GPU Power: Connect the appropriate PCIe power cables from the PSU to your Graphics Card.
- Case Front Panel Connectors: Connect the tiny cables (Power Switch, Reset Switch, LEDs) to the corresponding small pins on the motherboard’s front panel header.
- USB/Audio Headers: Connect the chunky USB and HD Audio cables from the case to their headers on the MOBO.
Phase 4: Finalizing and First Boot
13. Cable Management
Good cable management improves airflow and aesthetics.
- Use the cable cutouts and channels in your case to route all cables along the back of the motherboard tray.
- Use Velcro straps or zip ties to bundle and secure cables neatly, keeping the main viewing compartment clear.
- Ensure no cables are blocking fan blades.
14. The Moment of Truth – Initial Boot and BIOS Setup
- Plug in your monitor, keyboard, and mouse.
- Plug the PSU into the wall outlet and flip the power switch on the back of the PSU. Press the case’s power button.
- If successful, the computer should power on and display the BIOS/UEFI screen. If it fails, immediately unplug the PC and re-verify the 24-pin ATX, 8-pin EPS, and front panel connectors.
- Verify Components: In the BIOS, check that the CPU, correct RAM amount, and storage drives are detected.
- Set RAM Speed: Enable the XMP (Intel) or EXPO (AMD) profile to run your RAM at its advertised, high speed.
15. Installing the Operating System (OS)
- Create a bootable USB drive (e.g., using the Windows Media Creation Tool).
- In the BIOS, set the boot order to prioritize the USB drive.
- Save the settings and reboot. Follow the on-screen prompts to install the OS onto your fast NVMe drive.
Conclusion
Congratulations! You have successfully learned how to build a PC from scratch. If you’re aiming to maximize performance while keeping costs under control, our How to Build a Budget Gaming PC in 2026 shows how to get the best value for your money. Your custom-built machine will offer superior performance and immense personal satisfaction compared to any pre-built system.
Remember to install the latest drivers for your Motherboard and GPU from the manufacturers’ websites to unlock maximum performance. Welcome to the world of PC building!
The PlayOptimized Team is made up of PC enthusiasts passionate about helping everyday users get the most out of their hardware. From budget builds to advanced optimization, every guide is written with one goal in mind: practical advice that actually works, without the technical overwhelm.