Install an SSD in a desktop PC to dramatically improve boot times, game loading speeds, and overall system responsiveness. Whether you’re upgrading from a traditional hard drive or adding extra storage, installing an SSD is one of the easiest and most effective PC upgrades you can do.
This guide walks you through the entire process step by step, covering both SATA and NVMe SSDs, with no prior experience required.
Why You Should Install an SSD in a Desktop PC
Compared to hard drives, SSDs offer massive performance advantages.
Benefits include:
- Faster Windows boot times
- Quicker game and application loading
- Smoother multitasking
- Lower power consumption
- No moving parts (more reliable)
Installing an SSD can make even an older PC feel brand new.
Types of SSDs You Can Install in a Desktop PC
Before starting, you need to know which SSD type your system supports.
SATA SSD
- 2.5-inch form factor
- Uses SATA data and power cables
- Compatible with almost all desktops
- Slower than NVMe but still very fast
NVMe (M.2) SSD
- Installs directly into the motherboard
- Uses PCIe lanes for much higher speeds
- No cables required
- Requires motherboard support
Check your motherboard manual to confirm compatibility.
What You Need Before Installing an SSD
Prepare everything in advance to avoid mistakes.
Required Items
- SSD (SATA or NVMe)
- Screwdriver (usually Phillips)
- SATA cable (for SATA SSDs)
- Free SATA power connector (from PSU)
- Optional: anti-static wrist strap
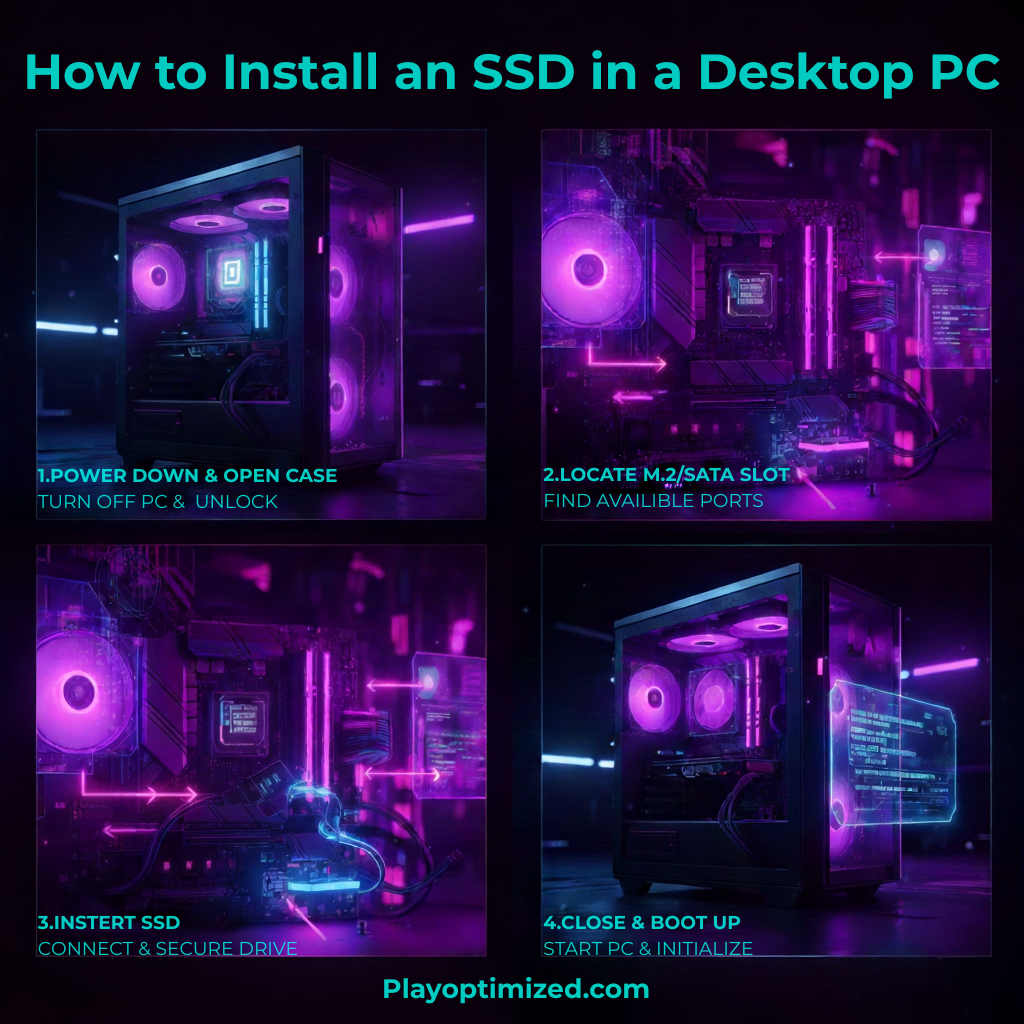
How to Install an SSD in a Desktop PC (Preparation)
- Shut down your PC completely
- Turn off the power supply
- Unplug all cables
- Press the power button for 5 seconds to discharge residual power
- Open the side panel of your case
Always work on a flat, non-conductive surface.
How to Install a SATA SSD in a Desktop PC
Step-by-Step SATA Installation
- Mount the SSD in a 2.5-inch drive bay or bracket
- Secure it with screws
- Connect the SATA data cable to the SSD and motherboard
- Connect the SATA power cable from the PSU
- Double-check all connections
SATA SSD installation is simple and very forgiving for beginners.
How to Install an NVMe SSD in a Desktop PC
Step-by-Step NVMe Installation
- Locate the M.2 slot on your motherboard
- Remove the small mounting screw
- Insert the NVMe SSD at a slight angle
- Push it down gently
- Secure it with the screw
Some motherboards include M.2 heatsinks — reinstall them if applicable.
BIOS Check After Installing an SSD
Before installing Windows or formatting the drive, confirm detection.
What to Do
- Power on the PC
- Enter BIOS/UEFI (usually DEL or F2)
- Check storage or NVMe settings
- Ensure the SSD is listed
If the SSD doesn’t appear, recheck connections.
Initialize and Format the SSD in Windows
Once Windows boots:
- Right-click Start → Disk Management
- Initialize the disk (GPT recommended)
- Create a new volume
- Assign a drive letter
- Format as NTFS
Your SSD is now ready for use.
Installing Windows on the New SSD (Optional)
If you want the SSD as your main drive:
- Create a Windows installation USB
- Set the SSD as the primary boot device
- Install Windows normally
This gives the biggest performance boost.
Common Mistakes When Installing an SSD
Avoid these issues:
- Forgetting to connect SATA power
- Installing NVMe SSD in unsupported slot
- Not initializing the drive in Windows
- Overtightening screws
- Mixing up SATA ports disabled by M.2 usage
Reading your motherboard manual helps prevent problems.
How to Verify SSD Performance After Installation
Use these tools to confirm everything works properly:
- CrystalDiskInfo
- CrystalDiskMark
- Windows Task Manager → Performance tab
Proper speeds confirm correct installation.
Final Thoughts on How to Install an SSD in a Desktop PC
Learning how to install an SSD in a desktop PC is one of the best skills any PC user can have. It’s affordable, beginner-friendly, and delivers immediate performance improvements. Whether you choose SATA or NVMe, an SSD upgrade is always worth it.
Take your time, follow the steps carefully, and enjoy a faster PC.
The PlayOptimized Team is made up of PC enthusiasts passionate about helping everyday users get the most out of their hardware. From budget builds to advanced optimization, every guide is written with one goal in mind: practical advice that actually works, without the technical overwhelm.